For-Loops
On a 16×16 LED matrix, there are 256 LEDs. It would be a lot of work to have to write a line of code for every LED to light up. If you did that, your code would look like this code snippet below.
from wc import *

canvas = Canvas()
canvas.add(Point(0,0,'red'))
canvas.add(Point(1,0,'blue'))
canvas.add(Point(2,0,'green'))

#
#.... another 250 lines of code!
#
canvas.add(Point(15,14,'red'))
canvas.add(Point(15,15,'blue'))
That’s not a very efficient way to program. Assuming you had the patience to even do all that, what if you decided you wanted to use a different sequence of colors? You would end up having to do a lot of typing to make the change. Fortunately there is a better way to do this and that is through a looping structure called a for-loop. Below is an example of a for-loop that lights up the first ten LEDs on the board.
from wc import *
canvas = Canvas()
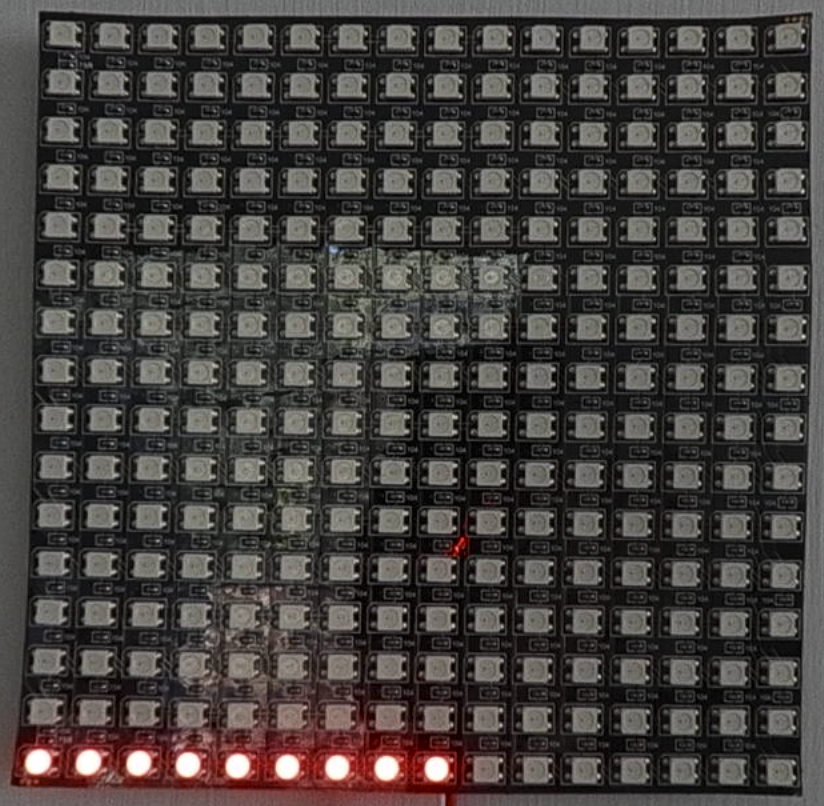
for x in range (0, 9):
canvas.add(Point(x,0,'red'))The result of this code is shown in the image below.
Let’s talk about how this works. The for-loop statement has two parts separated by the term in. The first part of the statement is a variable name. In our example it has the label counter. We are already familiar with the concept of variable names because we used it to declare the variables called canvas and my_color_1 in prior examples. The second part is a collection of values that the loop should iterate through. Think of a collection as a bunch of stuff in a bag. Some collections are unordered so when you reach in and grab something out of the bag the order of the stuff you pull out is random. Some collections are ordered in a specific way in which case our bag is more like a box with bins that go from left to right with stuff. In our case the range (0, 9) statement creates an ordered collection consisting of numbers starting from the first value 0 and ending at the value just before the last value 9. If we use the box analogy, our collection would look something like the diagram below.
| 0 | 1 | 2 | 3 | 4 | 5 | 6 | 7 | 8 |
As we go through the values in our box we assign those values to our variable i. In effect we are executing the following code:
from wc import *

canvas = Canvas()

canvas.add(Point(0,0,'red'))
canvas.add(Point(1,0,'red'))
canvas.add(Point(2,0,'red'))
canvas.add(Point(3,0,'red'))
canvas.add(Point(4,0,'red'))
canvas.add(Point(5,0,'red'))
canvas.add(Point(6,0,'red'))
canvas.add(Point(7,0,'red'))
canvas.add(Point(8,0,'red'))
The for-loop reduces the number of lines of code from 9 to just 2 lines! It also makes the code much easier to understand.
With that understanding of for loops, we are now ready to light up the whole matrix. Do you think you know how? Go ahead and give it a shot before reading on.
The tricky aspect of using the for-loop to light up all of the LEDs is that it will actually require a nested loop. This means one for-loop inside of the other as shown below.
from wc import *
canvas = Canvas()
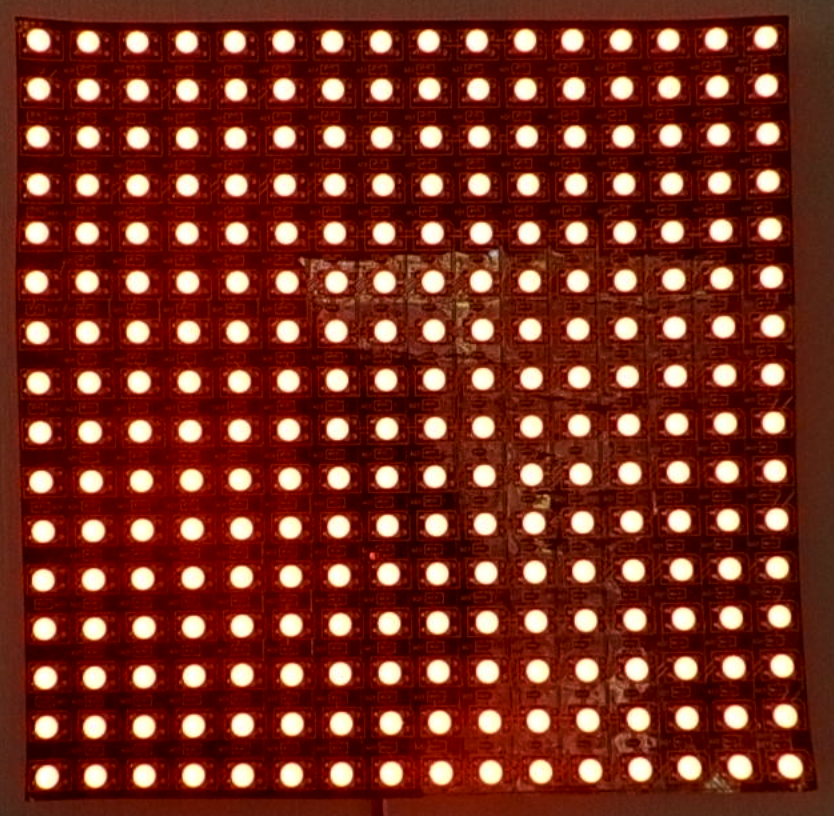
for x in range (canvas.width):
for y in range (canvas.height):
canvas.add(Point(x,y,'red'))You might have noticed that it takes quite a while for all of the LEDs to light up. This is because we are adding them one by one. If you want all of them to appear in one shot you could place the points inside of a list as shown below and add the entire collection to the canvas.
from wc import *

canvas = Canvas()
points = []
for x in range (0,canvas.width):
    for y in range (0,canvas.height):
        points.append(Point(x,y,'red'))
canvas.add(points)
Now that we know how to use a basic range, let’s try changing how we iterate through the range. The default behavior of a range is to always increment the value by 1. It turns out that you can add one more parameter which modifies the increment. Go ahead and try executing the code below.
from wc import *
canvas = Canvas()
points = []
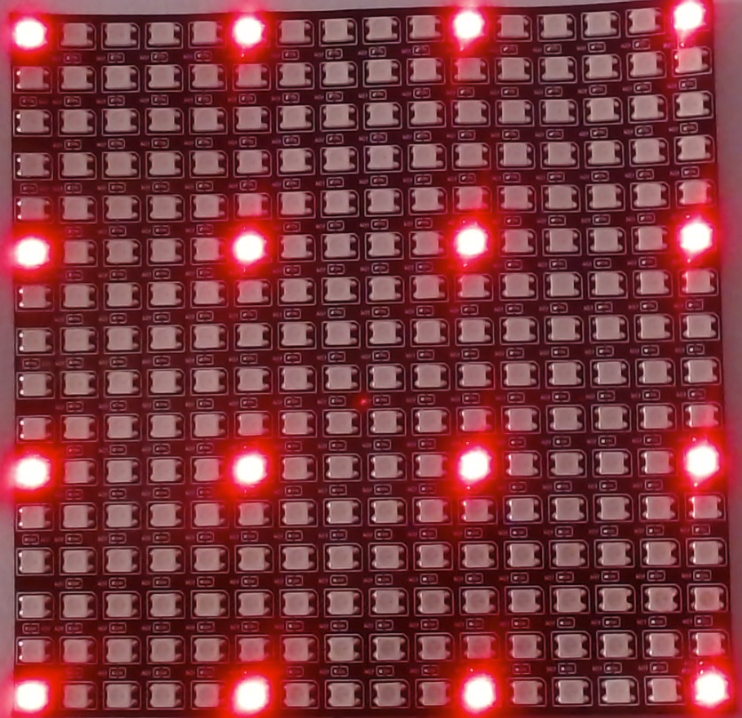
for x in range (0,canvas.width,5):
for y in range (0,canvas.height,5):
points.append(Point(x,y,'red'))
canvas.add(points)
The range (0, 16, 5) statement creates an ordered collection of values that increases by 5 on each iteration of the loop. When you run this code, your board will look like the photo below. Try changing the step size of 5 to a different value to experiment with the patterns that are produced.
We can also use this approach to create alternating pixel colors. For example, try the code segment below.
from wc import *
canvas = Canvas()
points = []
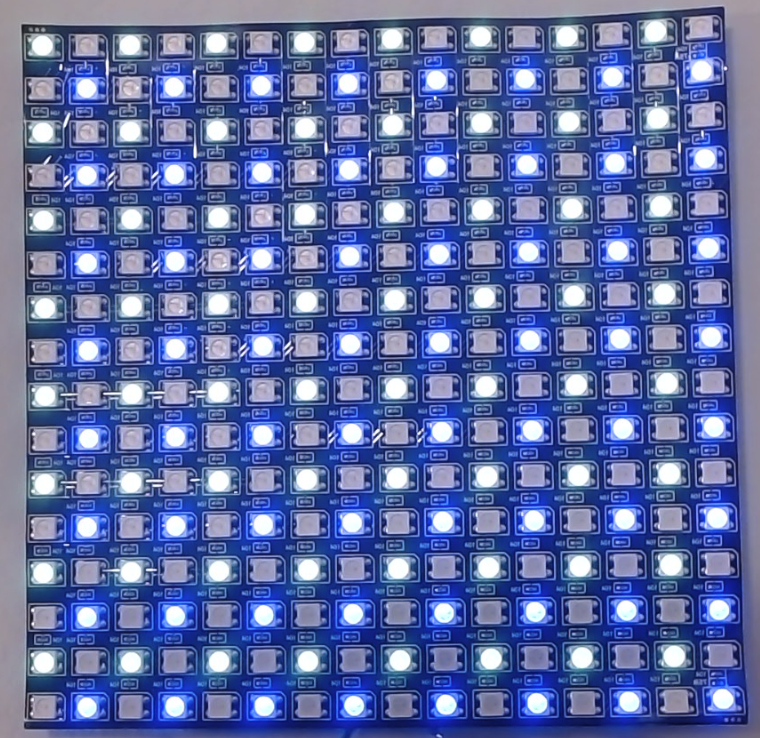
for x in range (0,canvas.width,2):
for y in range (0,canvas.height,2):
points.append(Point(x,y,'blue'))
for x in range (1,canvas.width,2):
for y in range (1,canvas.height,2):
points.append(Point(x,y,'green'))
canvas.add(points)Running this code will produce the following result.
While-Loops
While-loops are a more generalized looping structure than for-loops. Whereas for-loops iterate over a collection of values, while-loops will run so long as some condition is true. We have not yet talked about condition statements, so for now we are only going to use a very simple while-loop known as an endless loop. Just like its name implies, an endless loop will just keep going on forever. Why would you want this? A common technique in light animations is to go through a sequence of events over and over again until the system is unplugged. For example a bouncing ball might consist of five frames that iterate over an over to depict the ball going up and down. So long as we want the ball to bounce we have to be within some sort of looping structure, otherwise the ball will bounce once and the program will end.
Let’s start with a simple program that repeatedly turns all of the LED elements on and off.
from wc import *

canvas = Canvas()
points = []
for x in range (canvas.width):
    for y in range (canvas.height):
        points.append(Point(x,y,'red'))

while True:
    canvas.add(points)
    canvas.remove_all()
When you run this code you’ll see the light board repeatedly cycling through a process of turning the LEDs on and off. The while True on line 9 is what is driving this behavior and since the condition is always true, it will continue forever.
Time Functions
One thing you might have noticed is that the on-off process is happening very quickly so we might want to find a way to slow it down. We do this by using something called a time function. We are all familiar with timers because we use them all the time for things like cooking, playing games, or telling our alarm clock to leave us alone for a while if it’s hard to get out of bed. In MicroPython we will use a time function called sleep() to tell the computer to delay the execution of our code so that things don’t all happen at once. The program below introduces a couple sleep commands into our previous forever loop.
from wc import *
import time

canvas = Canvas()
points = []
for x in range (canvas.width):
    for y in range (canvas.height):
        points.append(Point(x,y,'red'))

while True:
    canvas.add(points)
    time.sleep(.5)
    canvas.remove_all()
    time.sleep(.5)
The time.sleep(.5) statements in lines 12 and 14 instruct the microcontroller to sleep for half a second before executing the next batch of code.
Now let’s use the sleep statement and a while loop to animate our blue/green alternating color pattern. Take a look at the video below. Before looking at the code solution, think about how you would approach the problem.
One solution to coding this is shown below.
from wc import *
import time
from wc import *

canvas = Canvas()
while True:
    for x in range (0,canvas.width,2):
        for y in range (0,canvas.height,2):
            canvas.add(Point(x,y,'blue'))
            time.sleep(.01)
    for x in range (1,canvas.width,2):
        for y in range (1,canvas.height,2):
            canvas.add(Point(x,y,'green'))
            time.sleep(.01)
    canvas.remove_all()
At this point you have the tools to do so much! Use your imagination and try to come up with other patterns that you find interesting. See if you can animate those patterns.
Summary
In this tutorial we discussed how to construct a loop to repeatedly execute some set of logic. We also learned how to slow down that execution using a time function so our code appears as a sequence of events as opposed to an instantaneous image.
No responses yet