In this post we are going to talk about how to get yourself setup to write your first program. Let’s talk about the black box first to make sure we understand what it is.
The Black Box
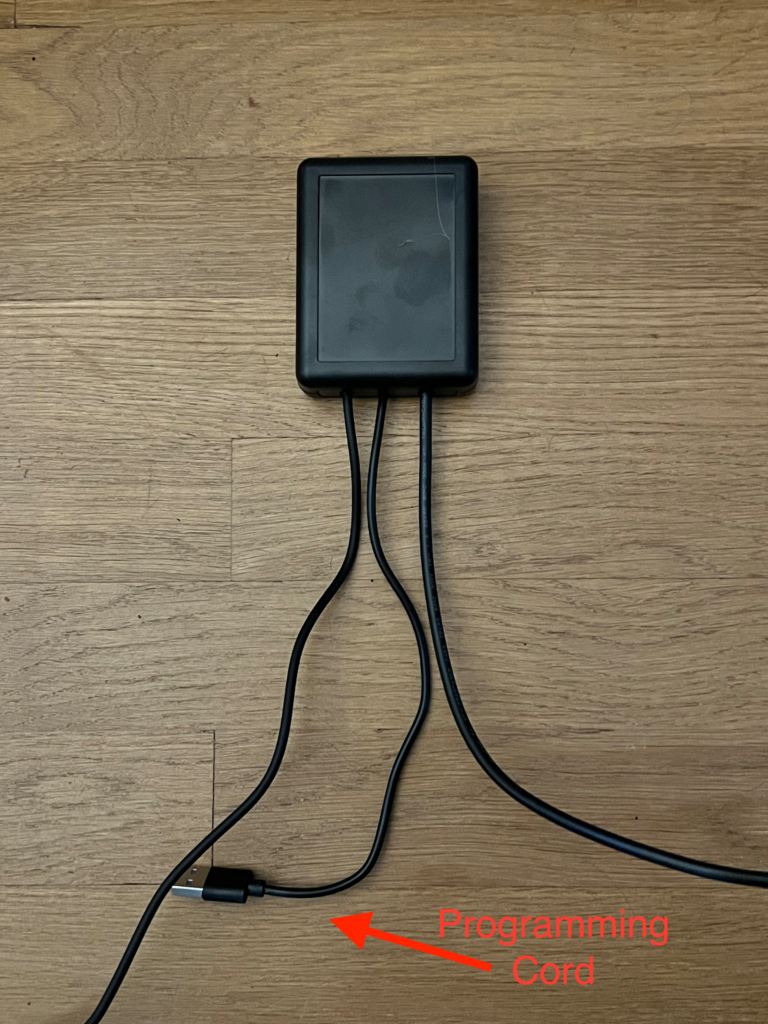
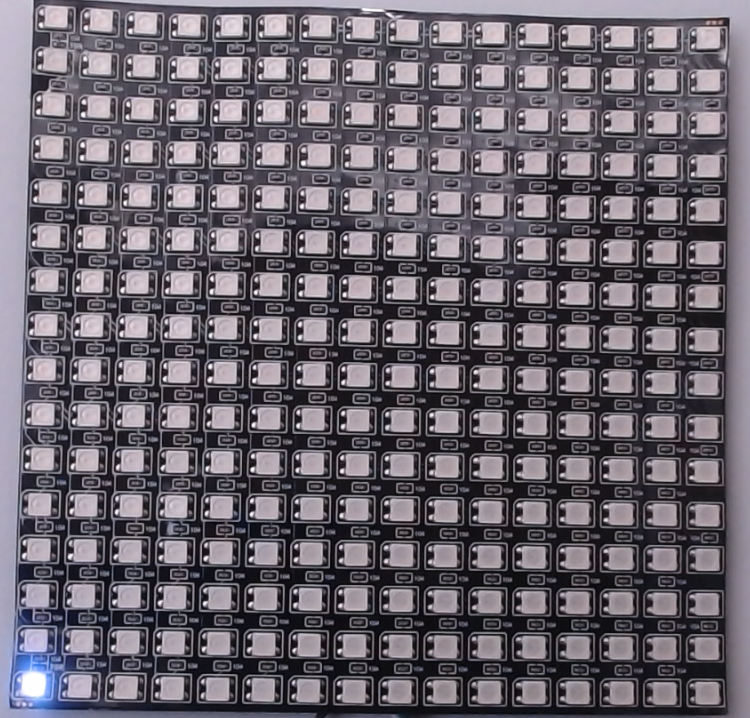
The black box is the brains of the operation. It contains a programmable microcontroller that stores the program that you want to execute on the LED matrix. The black box has a programming cable as shown in the image below. You plug this cable in to a laptop in order to upload your program to the controller.

Our first step will be to get a Python editor that knows how to speak to our black box.
Installing a Python Editor
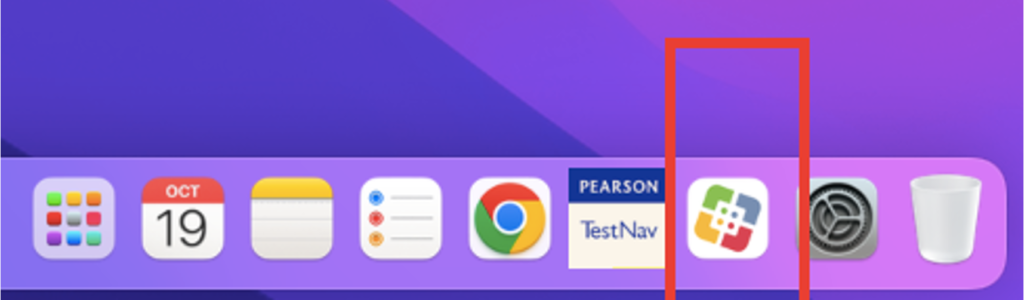
We will use an editor called Thonny to program our LED matrix. This can be downloaded from here. If you are a student of FCCPS an are using your school provided laptop, you should use the self service app to find the Thonny installer. The self service app is highlighted in the screenshot below.
Configuring Thonny
Before configuring Thonny, make sure the short USB cord on your black box is plugged into your computer. There are two USB cords so pay close attention to the lengths of the cord and use the shorter one. The longer cord is the power cord which we will plug in to a power bank later. Nothing bad will happen if you plug in the power cord in by mistake, but Thonny will not detect your black box and the steps below will not work.
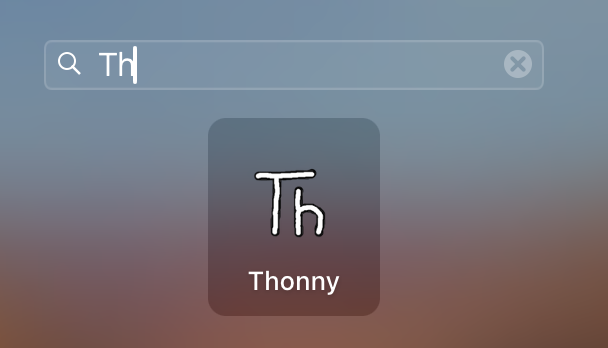
After Thonny is installed, use Launchpad to open it.
In Thonny, go to the menu at the top of the screen. Click on “Run → Configure interpreter…”
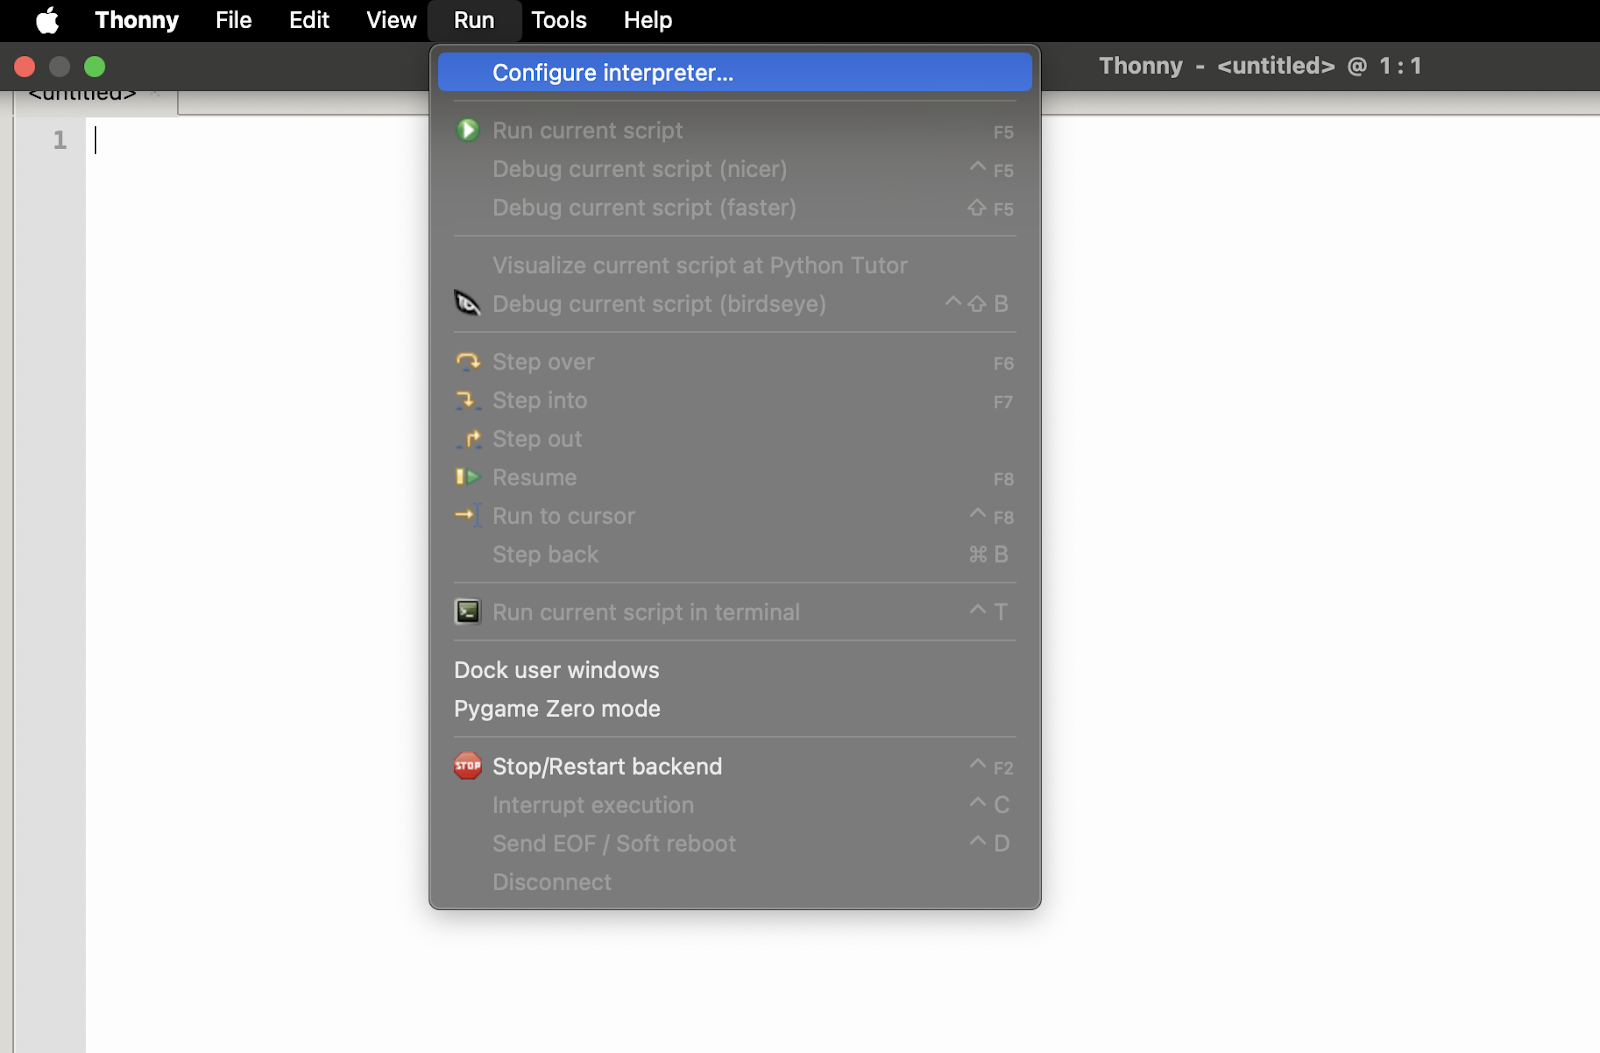
In the pop-up window, select “MicroPython (Raspberry Pi Pico)” as shown below.

Click OK at the bottom of the screen. If everything went well you should see the following at the bottom of the screen.

In order to program with the examples shown in the tutorials you will need to install the wc Python library. Instructions for doing can be found here: https://woodencircuit.com/twc-library/.
At this point you can to ahead and plug the longer USB cable to your power bank. We’re ready to write our first program!
Type In Your Code
Our first bit of programming will be to set one of the LED lights to red. Using the Thonny editor, type the following code in to the editor.
from wc import *

canvas = Canvas()
canvas.add(Point(0,0))
In the Thonny toolbar, click on the Run button.

Your board should look like the image below.
Congratulations, you have coded your first LED program!
Discussion
Try replacing Point(0,0) with Point(10,10). You’ll see that a different LED lights up. The numbers inside of the parentheses are called index values. We’ll talk about what those numbers mean in just a moment but feel free to experiment and try to figure it out on your own.
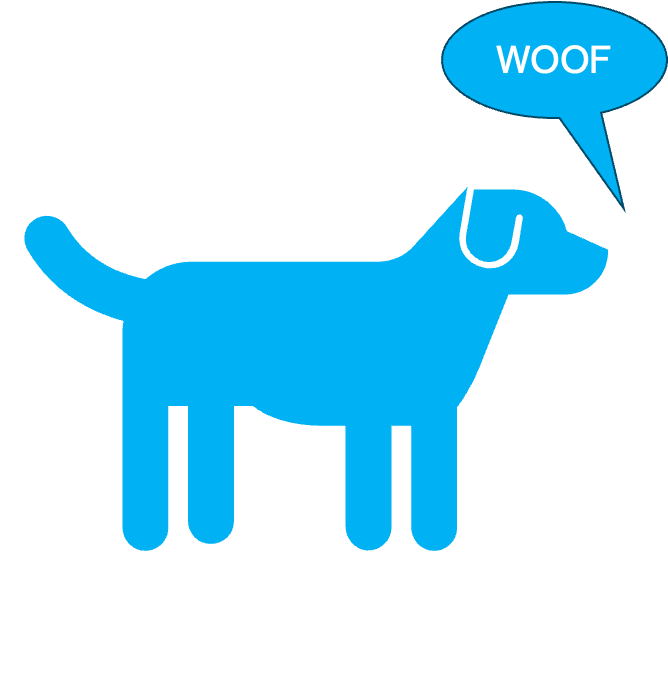
Let’s talk about what the term canvas represents in our program. In the world of Python, canvas is an object. Think of an object like a representation of a physical thing you interact with in the real world. For example an object could be a car, an oven, or even a living thing like a dog. Inside of an object there may be more objects. For example, a car has wheels, an engine, and a body. And those things might have smaller things inside of them.

In addition to being containers of other objects, objects can also do something. For example an engine can start, stop, speed up or slow down. A dog can run, sleep, eat, and bark. The things that an object can do are called functions.
In our case, canvas is an object of type Canvas. One of the things that Canvas contains as a subobject is a representation of each LED on the board. The Canvas object also contains a add() function which allows you to add different types of shape objects. Functions have parameters that you send inside of the parenthesis. The add() function has one parameter which is the shape that you wish to add. When we call the add function we have to send that parameter in order for the function to know what to do. In our case we are adding a Point object. When we create a Point object we can pass in two parameters. In this case those parameters indicate the starting x and y coordinates of that point. The diagram below explains how these coordinates work. The pixel for Point(10,10) has been illuminated as an example.
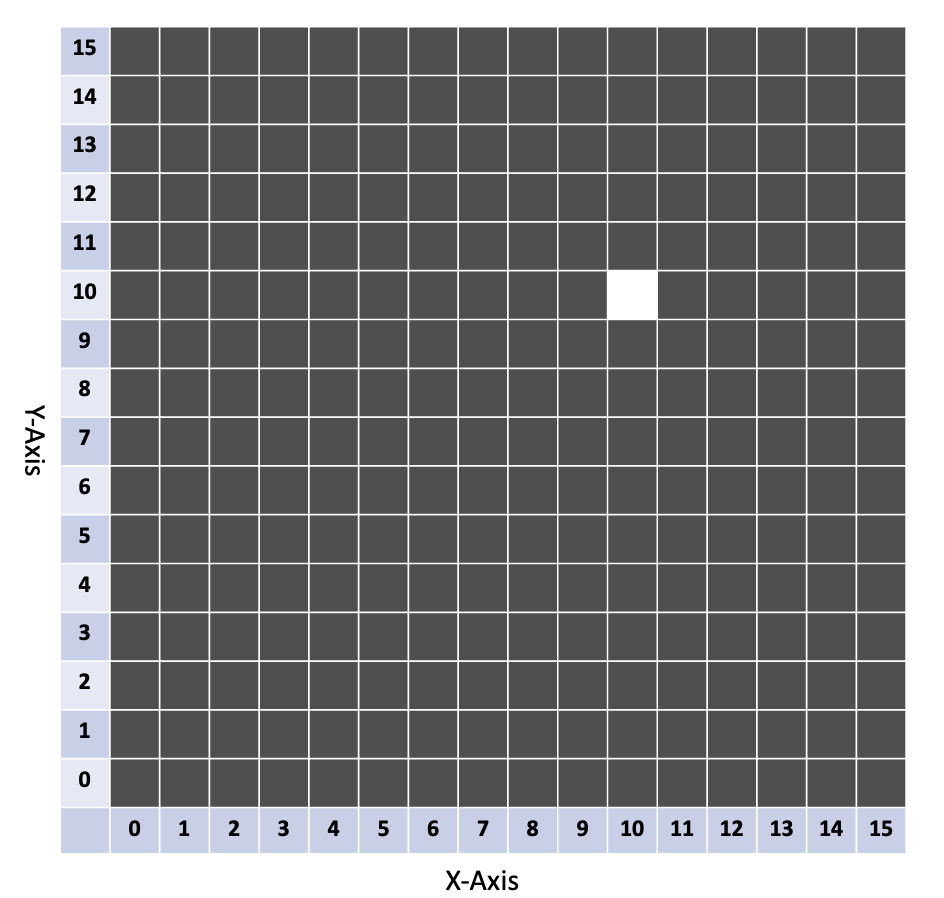
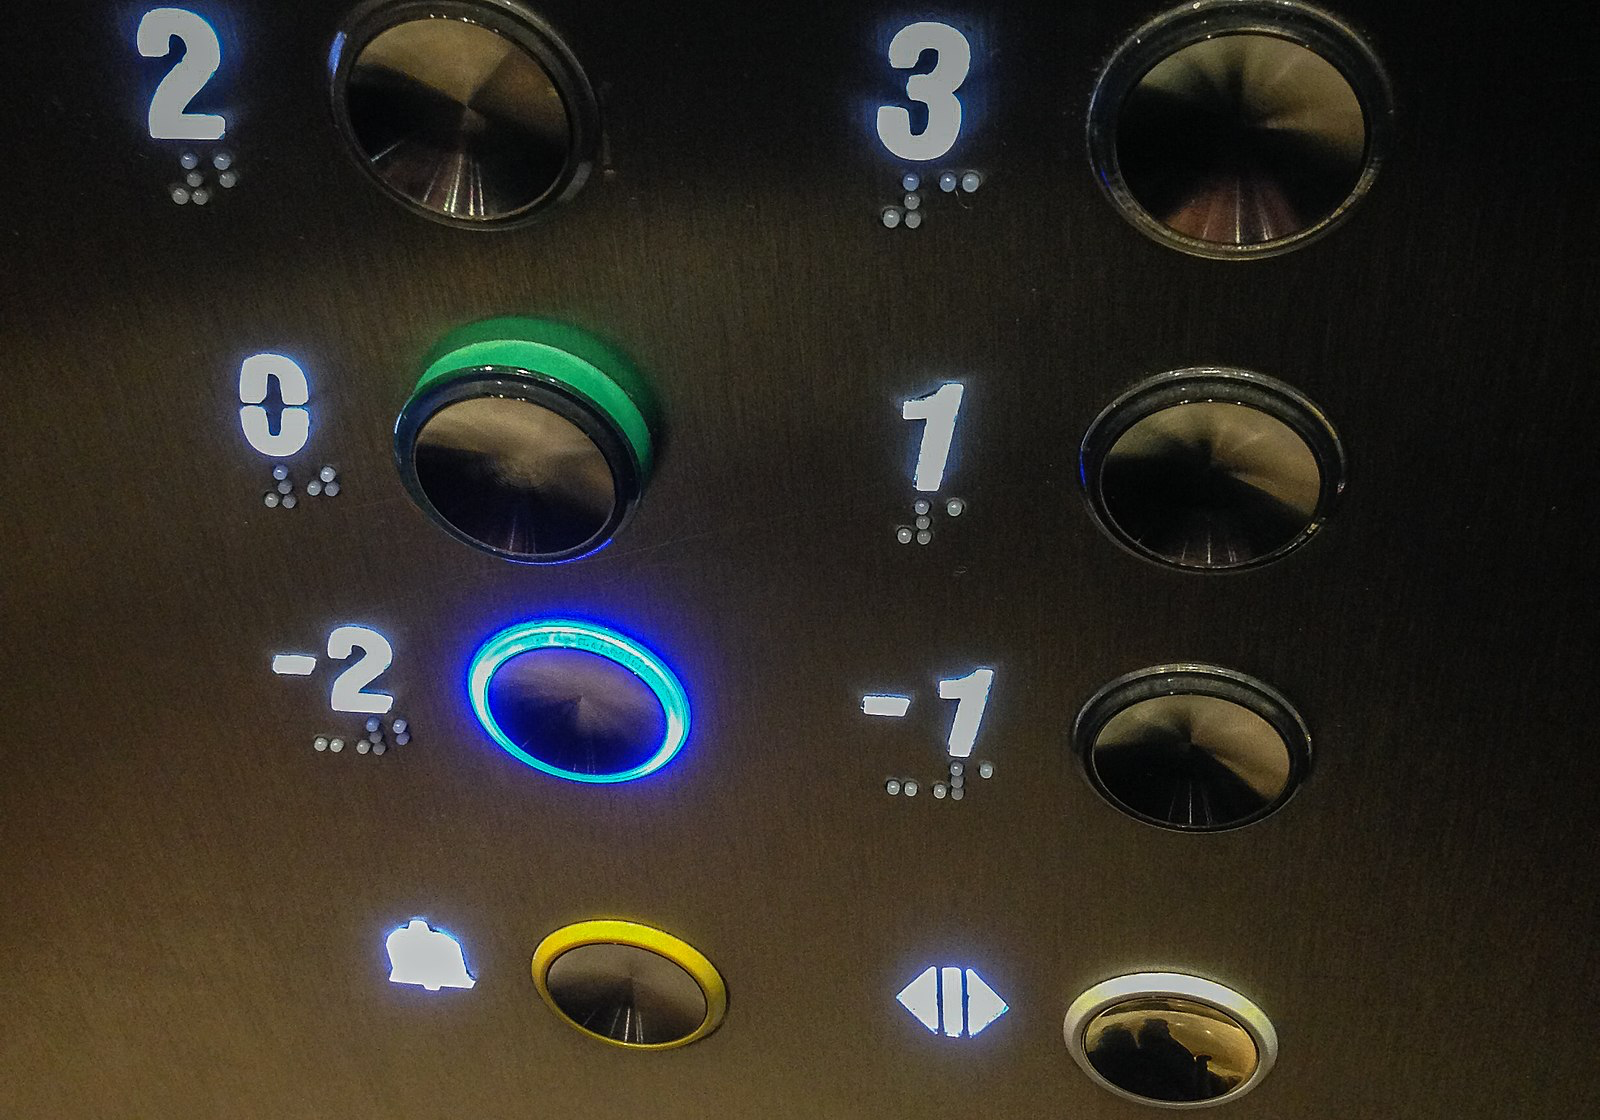
One confusing aspect is that the first LED is actually located at position (0,0) as opposed to (1,1). This is very typical of computer programming languages where indexes start at zero. That might seem pretty confusing, but you’ll get used to it. At some point you’ll start to wonder why other numbering conventions don’t work like this. In fact, outside of the United States, they often do! The image below is from an elevator in Ireland.
With that understanding of how the coordinate system works, let’s talk about what happens when we try to execute something out of range like canvas.add(Point(100,100). Well, it is like pushing four on an elevator that only goes to the third floor. When you try to reach an LED that does not exist, the canvas will not do anything. Along those lines, what do you think would happen if you tried to enter canvas.add(Point? In later sessions we will look at combining multiple LED matrices together and how we initialize the canvas to know what the actual size of our grid is. (-1,-1)
Summary
In this first lesson, we discussed how to use the Thonny code editor to modify the code that is running on the board. We modified and uploaded a simple program to light up an LED. Finally, we talked about how objects work and discussed the concept of a position index.
No responses yet